1. What is this and why use it
RAG is different. RAG re-searches documents for each question — knowledge doesn't accumulate. LLM Wiki compiles sources once when they are added to create a persistent wiki and keeps it up to date. Cross-references, contradiction marking, and summarization are already built in as a compound output.
Role division
Humans: Source curation (adding meeting minutes, emails, articles), questions, search direction
LLM: Summarization, cross-linking, reliability calculation, organization, bookkeeping — updates 15 files at once without getting tired
Actual benefits (use cases by our team)
When meeting minutes are added → decisions are promoted to concept pages and automatically linked to related past meetings and emails
"What did we do this week?" → scattered dailies, meetings, and emails are summarized and answered with reliability scores
After a few days → outdated information is automatically identified (forgetting), and facts repeated more than three times have their reliability increased
2. Obsidian Installation and Settings
LLM Wiki runs on Markdown files in a folder, so it can work without Obsidian (just with Claude Code). However, opening it with Obsidian allows people to browse the wiki and view it as a graph, which is highly recommended.
2-1. Obsidian Installation
obsidian.md to download (Windows/macOS/Linux free).
After installation, run → Open folder as vault → select the cloned harness folder (my-wiki).
2-2. Essential Core Settings (Settings ⚙️)
Since LLM Wiki relies on wikilinks and hierarchical structure, adjust the following:
Setting Location | Value | Reason |
|---|
Files & Links → New link format | Shortest path when possible | [[File name]] only for links (path unnecessary) |
Files & Links → Use Wikilinks | ON | The entire wiki uses [[ ]] grammar |
Files & Links → Default location for new notes | raw/notes/ or designated folder | So new notes don't appear just anywhere |
Files & Links → Detect all file extensions | ON | See files other than md |
Editor → Readable line length | Preference | Readability for long documents |
Appearance → Theme | Preference | — |
2-3. Recommended Core Plugins (Built-in, just turn them on)
Settings → Core plugins:
Templates — Insert meeting minutes, daily, email templates (essential)
Daily notes — Automatically create daily notes
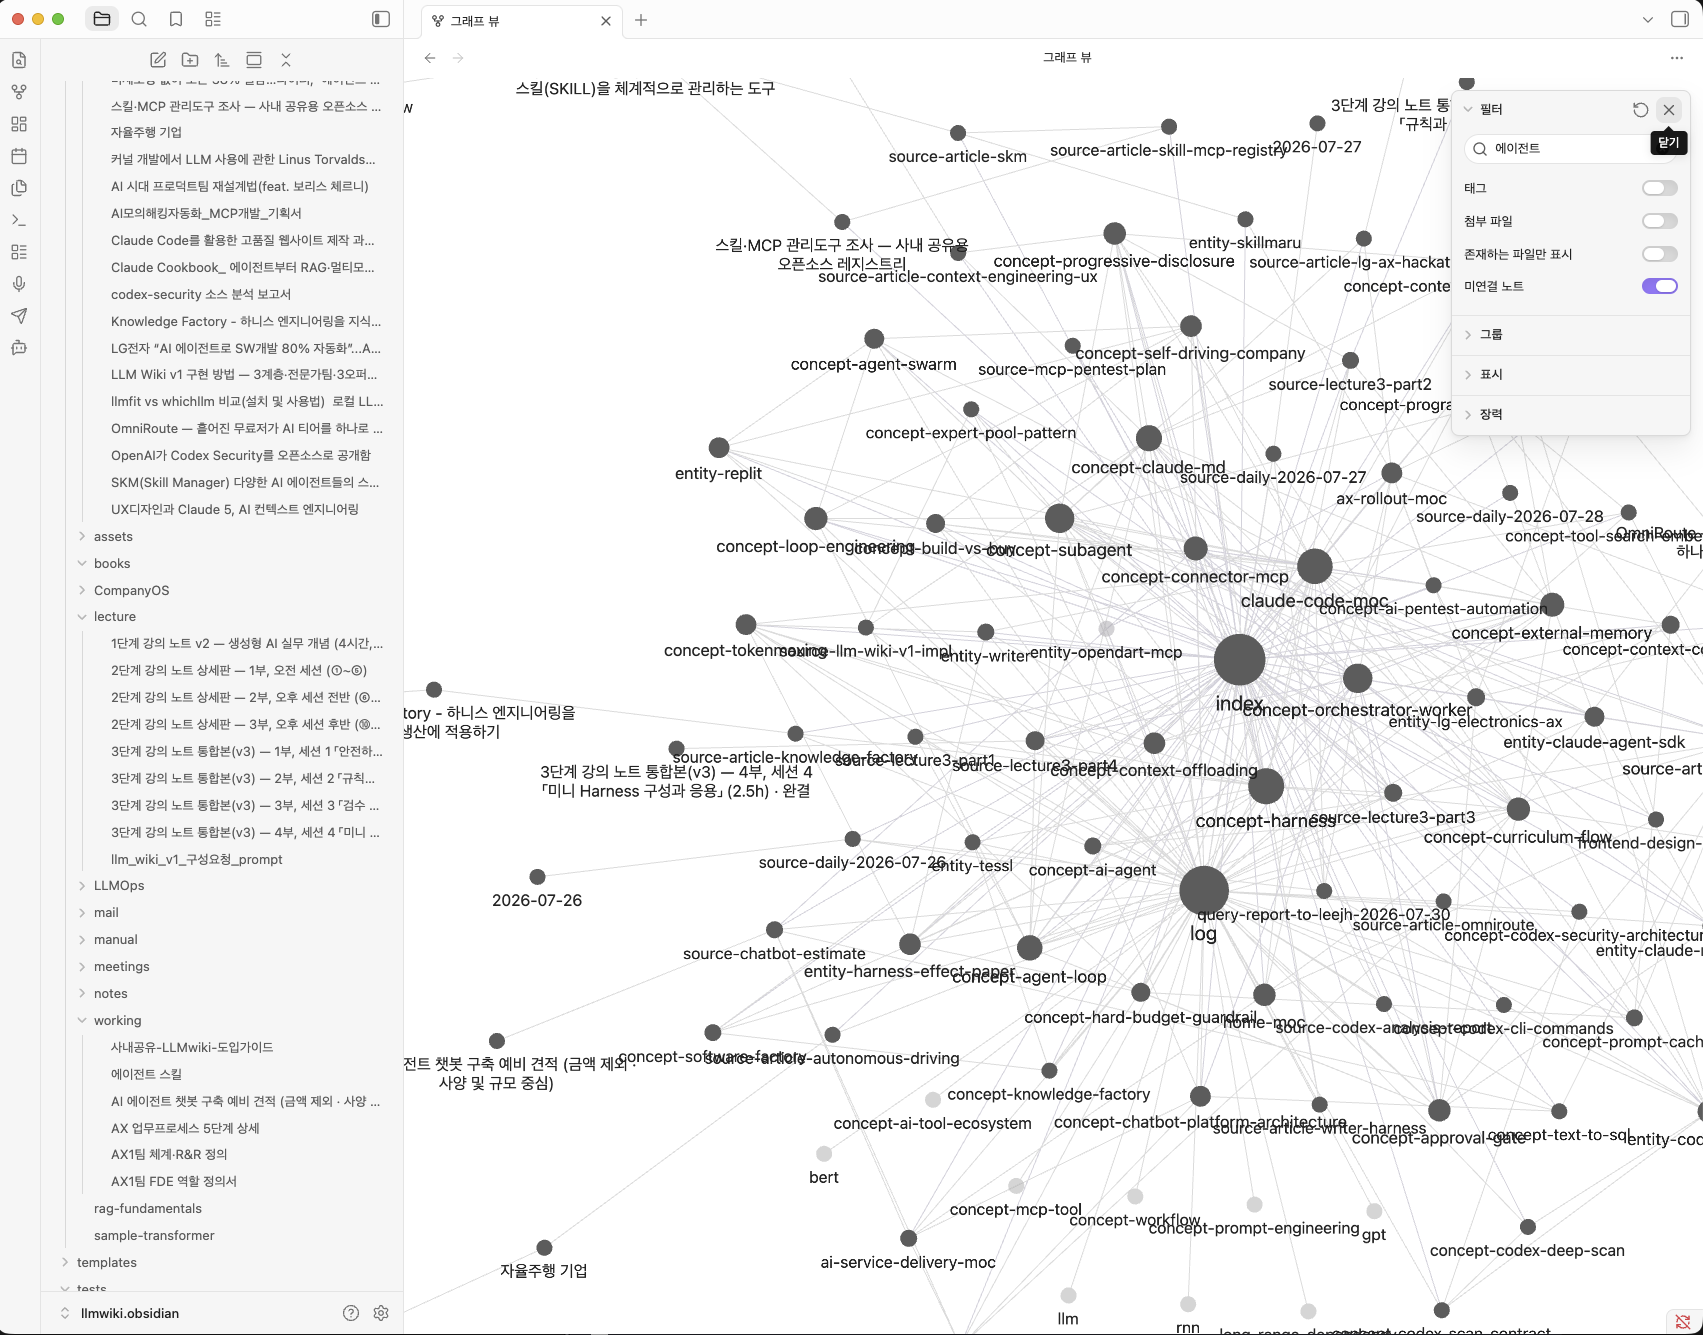
Graph view — Visualize the wiki's connection structure (visually confirm the link network created by LLM)
Backlinks / Outgoing links — Track references between pages
Command palette / Quick switcher — Quick navigation
2-4. Useful Community Plugins (Optional)
Settings → Community plugins → Browse:
Agent Client ⭐ — Chat with Claude Code within Obsidian (core integration, → see details in 2-5). Requires ACP adapter to be installed beforehand.
Templater — Automatically replace {{date}} and {{time}} in templates (meeting and email templates use this syntax)
Obsidian Web Clipper (browser extension) — Save web articles as markdown to raw/article/ → ingest
Table Exporter — Export wiki tables to Excel/CSV (for reporting)
Marp Slides or Pandoc — Convert notes to PPT/documents (for presentations and reports)
Caution: The community plugin is initially turned off in "Restricted mode". Settings → Community plugins → Disable Restricted Mode after installation.
Settings → Community plugins screen. Disable Restricted Mode and install via "Browse". (This bolt is installed with one Agent Client)
2-5. Agent Client Plugin — AI Conversation in Obsidian (Recommended Method)
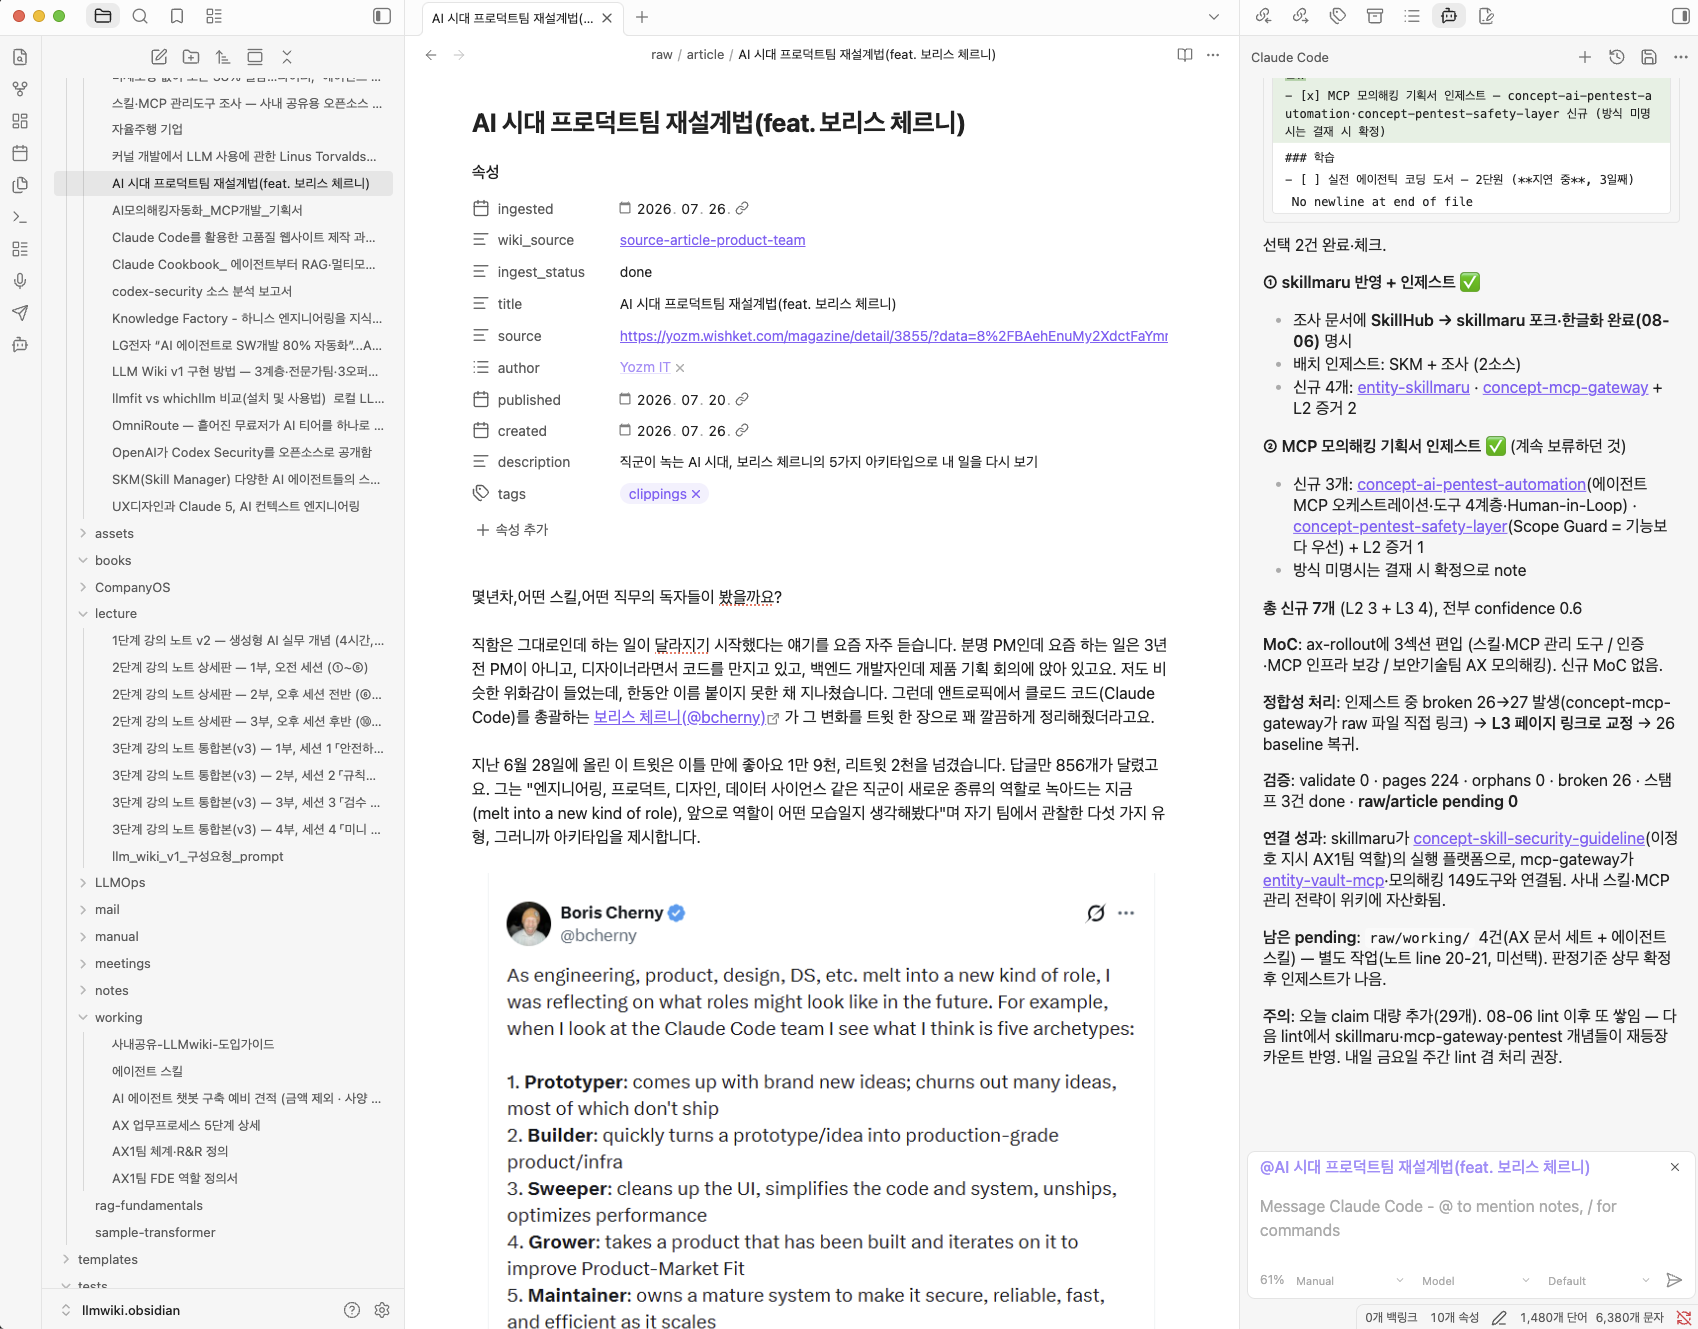
To converse directly with Claude Code within Obsidian without switching to a separate terminal, use the community plugin Agent Client. This bolt also operates in this manner.
Key Premise — ACP Adapter Required. Agent Client runs on top of ACP (Agent Client Protocol, established by Zed). Installing the plugin alone is not sufficient; you must first install the agent (Claude Code) and its ACP adapter for them to work together. The ACP adapter acts as a relay for communication between Obsidian and Claude Code.
① Plugin Installation — Settings → Community plugins → Browse → "Agent Client" search → Install → Enable.
② Agent + ACP Adapter Installation (Terminal: macOS/Linux uses Terminal, Windows uses PowerShell)
# Claude Code installation (skip if already installed)
curl -fsSL https://claude.ai/install.sh | bash
# ★ ACP adapter installation — Agent Client won't connect without this
npm install -g @agentclientprotocol/claude-agent-acp
③ Login (Use CLI authentication instead of API key)
claude # Follow the prompts to authenticate your Anthropic account
④ Path Verification — Find the absolute path for the settings.
which node                # macOS/Linux
which claude-agent-acp
# Windows: where.exe node  /  where.exe claude-agent-acp
⑤ Plugin Settings — Settings → Agent Client
Node.js path — Path to node from step ④ (e.g., /usr/local/bin/node)
Built-in agents → Claude Code → Path — Path to claude-agent-acp from step ④ (⚠️ use claude-agent-acp, not claude)
API key — Leave blank if you logged in via CLI, otherwise enter your key.
⑥ Usage — Click the robot icon on the ribbon → Start chatting.
What Agent Client Provides
@Note Mentioning — Directly reference vault notes in the chat (all examples in this guide use this method)
Image Attachment — Paste or drag images (e.g., meeting whiteboard photos)
Slash Commands — Agent / commands (/graphify, etc. for skill invocation)
Multi-Agent & Multi-Session — Switch between Claude Code, Codex, Gemini, and run multiple sessions simultaneously.
Session History & Chat Export — Resume conversations, fork them, save as Markdown.
MCP Support — Use MCP servers configured for the agent without additional plugin settings.
To use a pre-release version, add the BRAT plugin and follow these instructions at https://github.com/RAIT-09/obsidian-agent-client. Manually install by placing main.js, manifest.json, and styles.css from Releases into .obsidian/plugins/agent-client/ and enable it.
2-6. Alternative — Running Claude Code in Terminal/IDE
You can use Claude Code without Agent Client. The wiki maintenance logic remains the same.
Run Claude Code from your vault folder: cd my-wiki && claude
Open your vault folder in an IDE (VS Code, etc.) and use the Claude Code IDE extension for convenience.
In this case, Obsidian is used solely for browsing alongside.
3. Getting & Installing the Harness
3-1. Harness Repo
https://github.com/cookyman74/llmwiki-harness
You receive only **structure, skills, and scripts** — other people's content is not included (content and personal profiles are .gitignore).
3-2. Prerequisites
Claude Code (CLI/desktop/IDE, any)
python3 (for scripts and hooks — standard library only, no additional packages required)
Obsidian (2 panes — for browsing, recommended)
git
Cross-platform: macOS, Linux, and **Windows native** all work. Just need python3 in the PATH (WSL not required).
3-3. Installation in 4 Steps
git clone https://github.com/cookyman74/llmwiki-harness my-wiki && cd my-wiki
Personal Profile — Create CLAUDE.local.md (not shared due to gitignore). Claude reads it to adjust the explanation tone and depth for each session.
# CLAUDE.local.md
## Purpose / User Profile
- Role: (backend / data / planning …)
- Stack: (languages, frameworks, infrastructure)
- Interests/Learning: (current topics you are exploring)
Seed Copying — Copy empty index, log, and home map to their places:
cp templates/seeds/index.md templates/seeds/log.md .
cp templates/seeds/home-moc.md wiki/moc/
Activation — Run Claude Code → open /hooks once (load hooks) → open the vault in Obsidian.
First Source — Put one file in raw/ and say "ingest this" → your wiki will start to grow.
Update: git pull — updates only the harness, your content and profile remain unchanged.
4. Folder Structure (Essentials Only)
├── raw/          # Original sources — where you put them. Do not edit the main text (source of truth)
│   ├── meetings/ # Meeting minutes
│   ├── notes/    # Daily notes
│   └── mail/·article/ …
├── wiki/         # Owned by LLM — read-only for you
│   ├── L2-episodic/   # Source evidence (source-*.md)
│   ├── L3-semantic/   # Facts, concepts, entities (with confidence scores)
│   ├── L4-procedural/ # Repeated procedures
│   └── moc/           # Topic map (home-moc = home page)
├── templates/    # Templates for meeting minutes, daily notes, emails
├── index.md      # Complete catalog (automatic)
├── log.md        # Time-ordered log (automatic)
└── CLAUDE.md     # Charter (rarely needs to be changed)
Two things to remember:
5. Writing and Managing Documents
For the LLM to organize well, it's important where and how you put your documents.
5-1. Where to Put Them (raw/ Categorization)
Put source material in the appropriate subfolder under raw/. Folders are free — below is our team convention.
Folder | Put in | Source Type (Reliability Impact) |
|---|
raw/meetings/ | Meeting minutes, shorthand notes | verbal (−0.1, verbal information) |
raw/notes/ | Daily notes | session (scratch, pending scan excluded) |
raw/mail/ | Email threads, announcements | normal |
raw/article/ | Web articles, blogs, technical documents | normal (official document +0.1) |
raw/manual/ | Official documents, manuals | official (+0.1) |
raw/working/ | Working documents (specifications, draft plans) | normal |
Type affects reliability: The same fact has a +0.1 reliability if it's based on an official document, and -0.1 if it's verbal. LLM automatically determines the folder and content.
5-2. File Naming Rules
Main text in Korean / File name free — YYYY-MM-DD date prefix recommended for meeting minutes and daily notes.
<, >, avoid double periods — Obsidian treats as HTML, breaking links. Use Re if necessary in the title.
LLM creates English kebab-case file names for files in the wiki/ folder (concept-ax-work-process.md) — do not modify them.
5-3. Preprocessing Before Ingesting (Optional but Recommended)
You can ingest raw text, but requesting a summary for meeting minutes significantly improves quality.
raw/meetings/ paste shorthand notes
→ "Structure discussion and decisions, extract actions"
→ LLM numbers decisions + assigns responsibilities, deadlines + separates items needing confirmation (original shorthand notes are preserved at the bottom)
→ "Ingest"
5-4. Web Articles and Documents with Web Clipper (Automated Collection)
Don't copy and paste articles, blogs, technical documents, or official documents. Use Obsidian Web Clipper(browser extension) to save them directly to your vault. Markdown formatting is clean, source URL, title, and date are automatically recorded in the front matter, improving ingestion quality.
Installation and Settings
Install browser extension — "Obsidian Web Clipper" (official) from Chrome/Edge/Firefox store.
Extension settings → Vault = your vault, Default save folder = raw/article/(or raw/manual/ depending on the nature).
(Optional) Set template — automatically insert source (URL), author, published date, tags: [clippings] in front matter.
Workflow
① Open article in browser → Click Web Clipper icon → Extract main text as Markdown → Save to raw/article/
② In Claude Code, type "Ingest the article I just clipped"
③ LLM determines source type (official document +0.1 reliability) and automatically connects it with existing concepts
Real-world Example
웹 기사 클리핑 → 인제스트 시 프론트매터의 source URL이 그대로 L2 증거 페이지 source_url이 됨(출처 추적 자동).
tags: [clippings]가 붙어 있어 "클리핑한 것 중 미인제스트 뭐 있나" 조회가 쉬움.
긴 기사는 클리핑 후 "핵심만 요약하고 우리 위키 개념과 뭐가 연결되는지 알려줘"로 먼저 훑고 인제스트 여부 판단.
팁: 클리핑 본문도 raw/ 규칙 그대로 — 본문 immutable. 클리퍼가 가끔 광고·내비 잔여를 섞는데, 지우지 말고 인제스트 시 LLM이 본문만 골라 쓰게 둔다(원본 보존).
5-5. 템플릿으로 시작 (일관성)
templates/의 골격으로 시작하면 LLM이 파싱하기 좋다.
meeting.md — 안건·논의·결정·액션. 회의 시작할 때 삽입.
daily.md — 할일·한일·메모. Daily notes 플러그인이 자동 적용.
email.md — 수신자·발신·날짜 프론트매터 + 서명. 메일 초안·발송 기록용.
5-6. 절대 하지 말 것
❌ wiki/ 안 파일 직접 수정 — LLM 소유. 고칠 게 있으면 "이 페이지 이렇게 고쳐줘"로 요청.
❌ raw/ 원본 본문 수정 — 진실의 원천. 오타도 그대로 두고 정리본(wiki)에서 교정됨.
❌ 파일 이름·위치 임의 변경 — wikilink 깨짐. 옮길 땐 "이 파일 옮겨줘"로(LLM이 링크까지 갱신).
5-7. 관리 리듬
인제스트 즉시 — 회의·메일 오면 그날 넣기(밀리면 맥락 잊음).
주 1회 린트 — 신뢰도 재계산·모순 검사·병합.
세션 종료 시 압축 — "마무리하자"로 L1 관찰을 L2에 저장.
index·log는 자동 — 손대지 않는다.
6. 사용법 — 자연어로 요청하면 끝
모든 작업 진입점은 wiki-ops. 위키 관련 요청을 하면 자동으로 알맞은 전문가로 라우팅된다. 명령어 외울 필요 없이 한국어로 말하면 된다.
6-1. 인제스트 — "이거 위키에 넣어줘"
raw/meetings/ 에 회의록 넣고 → "인제스트해줘"
LLM: 소스 읽고 → 증거 페이지(claim 나열) + 신규 개념 초안 생성 → index·log 갱신 → 원본에 완료 스탬프.
싸고 빠름(lazy). 병합·신뢰도 계산은 나중 lint에서 배치로.
6-2. 질의 — "위키에 물어봐"
"이번주 AX 관련해서 뭐 했는지 종합해줘"
"vault-mcp 지금 신뢰도랑 진행상황 알려줘"
LLM: 관련 페이지 찾아 → 신뢰도·출처 병기해 답 → stale(낡은) 정보는 주근거로 안 씀 → 좋은 답은 위키에 환류 제안.
6-3. 린트 — "위키 점검해줘"
"위키 린트" (또는 SessionStart 훅이 "3일+ 경과" 알릴 때)
LLM: 끊긴 링크·고아·망각 검사 → 신뢰도 재계산 → 반복 사실 승격 → 모순·누락 찾아 수리목록. 자동 삭제 안 함, 제안만.
6-4. MoC — "네비게이션 정리해줘"
주제 지도 생성·갱신, 모든 페이지가 지도에서 도달 가능한지 점검(고아 방지).
6-5. 세션 종료 — "마무리하자 / L1 압축"
현재 세션 관찰을 3~5줄로 압축해 일화기억(L2)에 저장.
▶ 원문 출처: https://github.com/cookyman74/llmwiki-harness

